Valentine’s Day Printable Made with MDS!

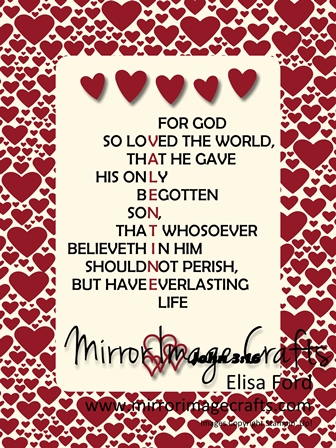
I made this adorable Valentine’s Day printable for my son’s preschool teachers this year. He attends at our church, so I thought the John 3:16 verse would be perfect!

John 3.16 Printable - Visit http://www.mirrorimagecrafts.com for details and more projects!

I designed this project to go in a 5×7″ frame, but it would also work a little larger or smaller.

If you love this printable, I’d be happy to send you the files of the full-sized (non-watermarked) version for $2.00. You will receive both a JPG and PDF version, via a private webpage after payment. Then all you have to do is print it at home!

Click the PayPal link below to get started!


Mid-Month MDS Cards

Well, okay, maybe not “mid-month” this time around… it is closer to the end of the month! But I wanted to share what I’ve been doing on My Digital Studio (MDS) recently.

I don’t typically make cards in MDS. I mostly do scrapbooking or other projects. When I do need an MDS card, I usually pick a pre-designed template and make changes as I need to for the card I need.

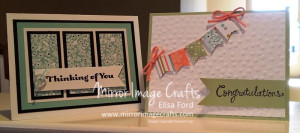
In order to branch out a little bit, I decided on a new strategy, which might help me down the road: taking an existing “real” card I’ve made (or a sample “real” card I’ve seen) and make a version of the card in MDS.

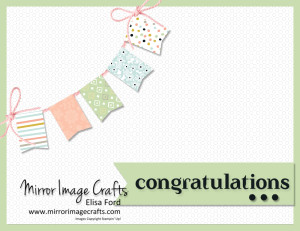
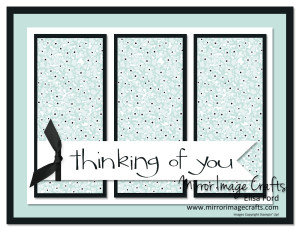
Sale-a-Bration 2014 MDS card 1 - Visit http://www.mirrorimagecrafts.com for details and more projects! SAB 2014 landscape-004 - Visit http://www.mirrorimagecrafts.com for details and more projects!

I cranked out about EIGHT MDS cards in just a couple of hours by trying this strategy!

SAB Celebration Class - Visit http://www.mirrorimagecrafts.com for details and more projects!

I’m showing only two in this post, so watch for more later. The two cards pictured are copies of “real” cards we will make in my upcoming Sale-A-Bration Celebration class on Friday, February 7. Visit my info page for the class to read more about it and to register.

As always, let me know if you have any questions!

(And a Happy Half-Birthday to my beautiful twin sister!) 

More MDS Fun!

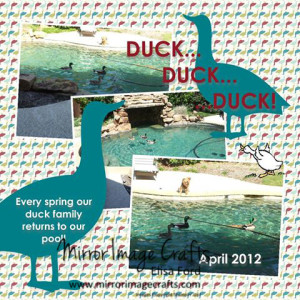
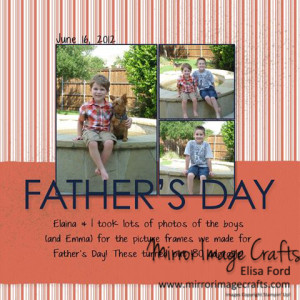
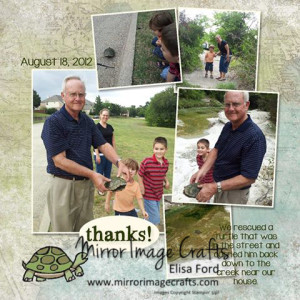
If you follow me on my Facebook Page, then you have seen some of the MDS digital scrapbook pages I’ve been making lately. I’ve been working hard to get my family album finished for 2012, so I can move on to working on this year!  If I were making these pages traditionally (with real paper, etc.) then I guarantee I’d be much further behind!

duckpond2012 - Visit http://www.mirrorimagecrafts.com for details and more projects! fathersday2012 - Visit http://www.mirrorimagecrafts.com for details and more projects! turtlerescue2012 - Visit http://www.mirrorimagecrafts.com for details and more projects!

MDS makes it so simple to create QUICK projects that look AMAZING. And Stampin’ Up! has terrific resources for everyone to be able to get the most from the software and downloads. I’d like to think that I am your best resource for all things MDS – so contact me today with any questions.  Or click the links below to get started!

MDS FREE 30-Day Trial

MDS Software Download

MDS Software Disc

Order any of the software versions and you are eligible to receive my TEN exclusive MDS video tutorials – FREE!

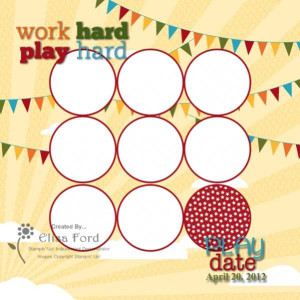
[MDS Digital] Play Date Scrapbook Page

This is a really quick, but really cute, digital scrapbook page made using My Digital Studio (MDS). The hardest part will be selecting your photos! This page sketch would be just as simple to create using your favorite non-digital designer papers & some circle punches.

MDS digital scrapbook page play date

SUPPLIES:

My Digital Studio (130647 disk, 130646 download 130910 30-day free trial), Big Top Birthday Designer Series Paper (123138), So Typefelt stamp brush set (128884), Get It Done Kit (129924)

INSTRUCTIONS:

  1. Open a new 12 x 12 blank page in MDS
  2. Add the background paper – pattern 12 from the Big Top Birthday DSP
  3. Choose a photo layout – if you don’t have the one with the 9 circles, you can create it by making one circle photo box and copying/pasting until you have all 9. Use the “align” tool to line them all up in a square.
  4. Fill the photo boxes with photos, journaling, or other embellishments. In the sample I put the Big Top Birthday DSP in the bottom right circle – pattern 2.
  5. Add a Real Red “mat” to all 9 photo boxes.
  6. Add the “work hard play hard” stamp brush image from So Typefelt and size how you’d like it. Color each of the individual words by using your “coloring tool.” It’s the digital version of using Stampin’ Write Markers!
  7. Use a text box to add the word “play” and the date of your event. Use the stamp brush word “date” from the Get It Done kit. Layer the words until they are placed how you like. Color them to coordinate with your project.
  8. Add a “drop shadow” to all of the words & stamps on the page and you’re done!

I hope you’ve enjoyed this MDS Digital scrapbook sample. Contact me with any questions!