CASE the Catalog – Heart Punch Card

For this Friday's edition of CASE the Catalog (Copy & Steal Everything), I submit this Heart Punch Card!

Here is the original, found on page 2 of the current Stampin' Up! Idea Book & Catalog:
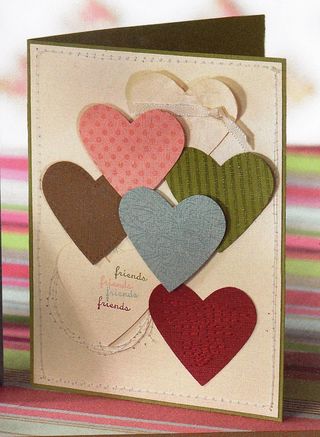
Heart card-CTC original-pg 2 
I do NOT sew, so I will never sew stitching on a card.  Just throwing that out there!  Here is my version of the card, followed by the "ingredients" that I used.

Heart card-casethecatty 
Stamp Sets: Elements of Style (W 118611, C 120045), Circle Circus (115778), Fine Flourish (115709), Hello Again (113780)

Card Stock (item numbers refer to the packs of 8-1/2×11 cs): Night of Navy (100867), More Mustard (100946), Elegant Eggplant (105126), Garden Green (102584), Crumb Cake (120953), Very Vanilla (101650)

Ink: Night of Navy Classic (102977) & VersaMark (102283)

Tools, Etc.: Full Heart Punch (119883), Paper Piercer (116631), Mat Pack (105826), Stampin' Dimensionals (104430), SNAIL Adhesive (104332)

I hope you enjoy this project. It may be a little while before I post again so keep checking back or subscribe to my feed.  My sister is coming in to town today for her spring break, and we usually spend a LOT of time crafting and not so much time on the computer!  As always, let me know if you have any questions!

Happy Crafting!

~Elisa


My Craft Room Renovation, Part 2

Well, my office/craft room renovation is still going strong, so I'll pause to get you caught up on the action!

I had planned to sell the craft table you will see in these pictures, until my sweet husband found the shelves that matched them nearly perfectly.  So, I only moved furniture around for this part.

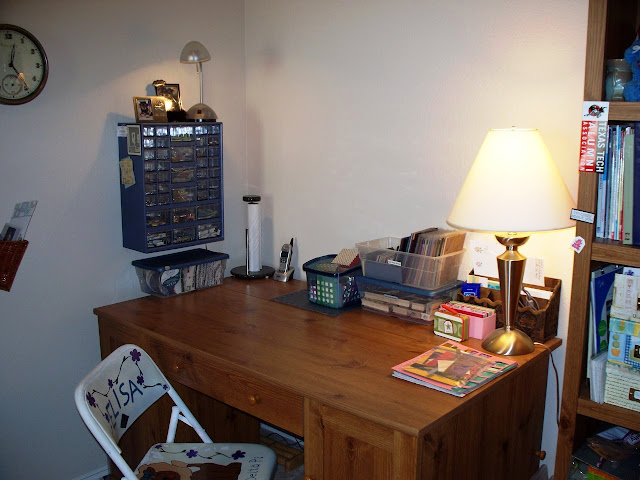
Here is my craft table, originally in the corner of the room, on the wall with the door.

100_1641 Now it is on the same wall, but more in the middle. There is still plenty of room to walk into the room, and right now I have a chair next to my desk (just in case someone wants to visit me.)


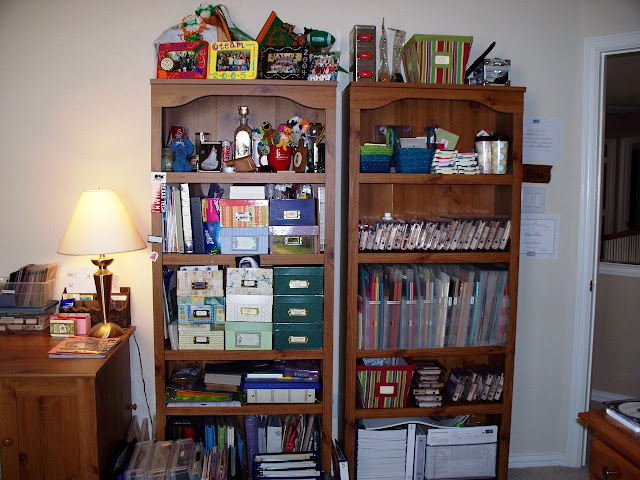
 My bookshelves, right inside the door.

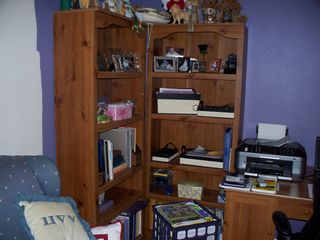
100_1640 New location of the shelves, in the corner where my craft table used to be.

I hope you all notice the lovely line where my painting stopped! Yes, it's beautiful!  Here is why I can't paint right there for now:

100_1646
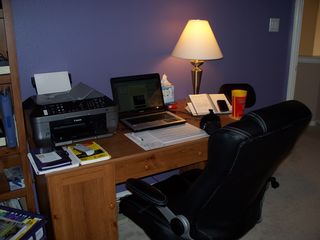
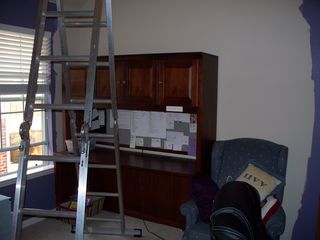
Not only is the desk preventing me from finishing my painting project, I also have to wait to hang my lovely new curtains.  In other news, this desk is for SALE – as soon as my husband tells me how much he would like for it.  So, I'll be sure to let you all know!  In the meantime, make me an offer.  The ladder is not for sale, and will stay in my office until I finish painting, only because it is so difficult to move.  I am also eager to finally take a picture of how the paint color really looks.  None of these photos really do it justice.

So, this is where I am for now.  I am very excited to post again soon with an update.  You know, painted and curtains up, and maybe some other nice finishing touches!

Until then, Happy Crafting!

~Elisa
CASE the Catalog – Flower Card

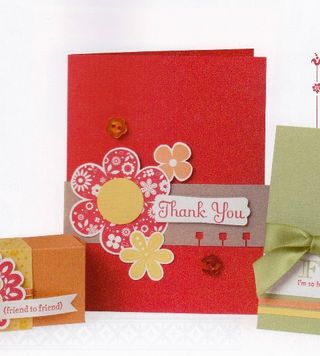
For this edition of "CASE the Catalog" I will be showing my version of this lovely red flower card from page 106 in the current Stampin' Up! Idea Book & Catalog. Remember, CASE stands for "copy and steal everything!"

Red flower card, page 106 in the SU Catalog

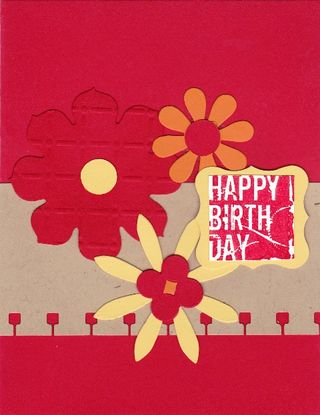
Now, I don't have the flower stamp set used on this card (Printed Petals is the name-116679W, 120444C) so I used the die for the Big Shot called Blossom Party (115971).  The original also uses the stamp set Thank You Kindly (111700), which I replaced with a retired set called Four Square (I made the card before it retired).

Red flower card, copied from page 106 in the catalog (my version!) 

Other products used:

Card Stock: Real Red, Pumpkin Pie, So Saffron, Crumb Cake

Real Red Classic Stampin' Pad (103133)

Punches: Spiral Border (119872) & Curly Label (119851)

Texturz Plates, Perfect Details (115962)

And finally, because I use them on nearly every project, Stampin' Dimensionals (104430)

I hope you enjoyed this project! Remember to use the catalog as an idea resource. You will be glad you did!  If you need supplies to make this card, or another card that catches your eye in the catalog, then visit my online store anytime!  You will find the link at the top of the right-hand column on my website.

Happy Crafting!

~Elisa
My Craft Room Renovation, Part 1

I decided a few months ago that I wanted and needed to reorganize my craft area. The area consists of my craft room, which is now primarily an office space with craft storage, and what I call the craft annex. The craft annex is actually the landing at the top of the stairs where the craft table lives.

So I started to envision what I wanted for my spaces.  In my office I wanted to add shelves and rearrange the furniture to creat some space for my toddler to play. I also REALLY wanted to paint. I was tired of looking at the off white paint. My favorite color is purple, so I knew that I would choose that for my walls.

The first step to my office re-do was to move a dresser out of the office and into the annex area. To do this I had to empty the dresser. That was fine, because I knew I was going to put craft supplies in there after moving it.

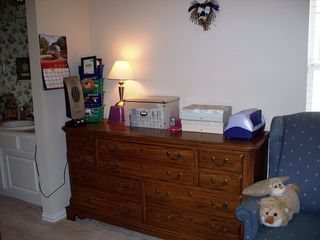
old location of dresser Old location of the dresser, inside the office
 
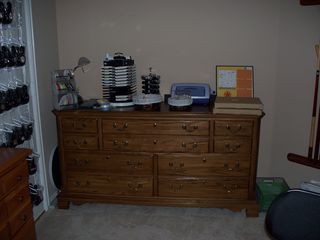
new location of dresserNew location of the dresser, on the landing by the craft table
 

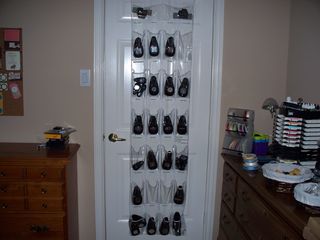
Next I moved my punches off my office door and onto the storage closet door, by the dresser.  This puts most of my frequently used supplies all in one convenient area.

new location of punches New location of my punches
 

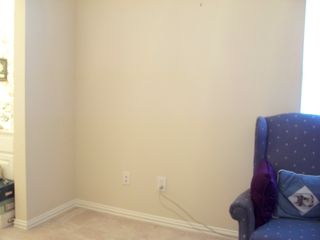
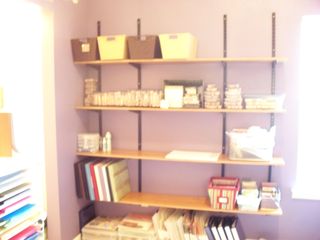
Then I moved all the items that used to be in the dresser out of my office so that I could paint my first wall.  The wall by the window is where I am putting up nothing but shelves.  Here are before & after pictures of what I have so far.  I haven't completely organized my shelves, but it gives you a good idea of what it will look like!

before shelves Before shelves (and paint!)
 after shelves After my shelves are up!

So, this is where I will stop for now. Watch for my next posts about my renovation!

Happy Crafting!

~Elisa